So now you have deployed your site on Heroku, it’s time to make it fast, responsive, backed-up and analytics enabled. With Heroku you can do all these thing for free .. yayyy (atleast at the time of writing this blog post)
Solve Heroku Startup Delay
If you are using Heroku free for your RoR(Rails 3.0) app you might be noticing long startup delays. This happens because if your site has fairly low footfall, which it would obviously have when you have just launched your app. What happens is that heroku unloads your app if there is no activity for some time. You can very easily simulate traffic to your site and keep the heroku dyno(app engine) active by adding a cron on any machine which runs 24/7:
#cron entry for wget. Every 15 minutes
*/15 * * * * wget http://www.yoursite.com/ -o /dev/null
I have noticed site load time fall down to 1.5s from 10-20s when accessing the site after a while.
Add Caching
First you have to enable caching for your app. See *here to add caching to you app. Now, go to your app folder and the run command below to install the free memcache addon to your app:
heroku addons:add memcache
Now, in your Gemfile, add - gem 'dalli'
Add this line in your config/environments/production.rb - config.cache_store = :dalli_store
Now run:
bundle update
git commit -a -m 'Added memcache'
git push heroku master
Thats it. Your site is now cache enabled. No other configuration required. To test the cache status just run these commands after a few page hits:
heroku run console
> Rails.cache.status
For more information see - *Heroku Memcache
Enable Backups
Creating backups on heroku is also very easy. You can take manual backups and also enable automated backups, all for free :). Add backup addon by - heroku addons:add pgbackups:auto-month. The auto-month addon gives you maximum auto and manual addons for free. Heroku states for this addon - Daily automatic backups. Retains 7 daily backups, 5 weekly backups, and 10 manual backups . Your automatic backups will be done by Heroku. If you do need to create a manual backup, you can do by -
heroku pgbackups:capture
SHARED_DATABASE (DATABASE_URL)  ----backup--->  b252
Capturing... done
Storing... done
The value b252 is the backup id. To list all backups:
heroku pgbackups
ID   | Backup Time         | Size    | Database
-----+---------------------+---------+----------------
b001 | 2012/02/19 06:34.29 | 24.5KB  | SHARED_DATABASE
a001 | 2012/02/20 20:00.55 | 24.5KB  | DATABASE_URL
b004 | 2012/02/21 22:36.57 | 24.5KB  | SHARED_DATABASE
a004 | 2012/02/23 20:00.55 | 24.5KB  | DATABASE_URL
Get download link for any backup: heroku pgbackups:url b001 #use backup id from backup list .
Download the dump by curl backup_url
Restore the dump to you local database using pg_restore --verbose --clean --no-acl --no-owner -h myhost -U myuser -d mydb latest.dump. Make sure that the user specified is the owner of both db and the public schema inside it.
Single line backup/restore:
heroku pgbackups:capture && curl `heroku pgbackups:url` | pg_restore --verbose --clean --no-acl --no-owner -h myhost -U myuser -d mydb
To get more information see - *Heroku pgbackups
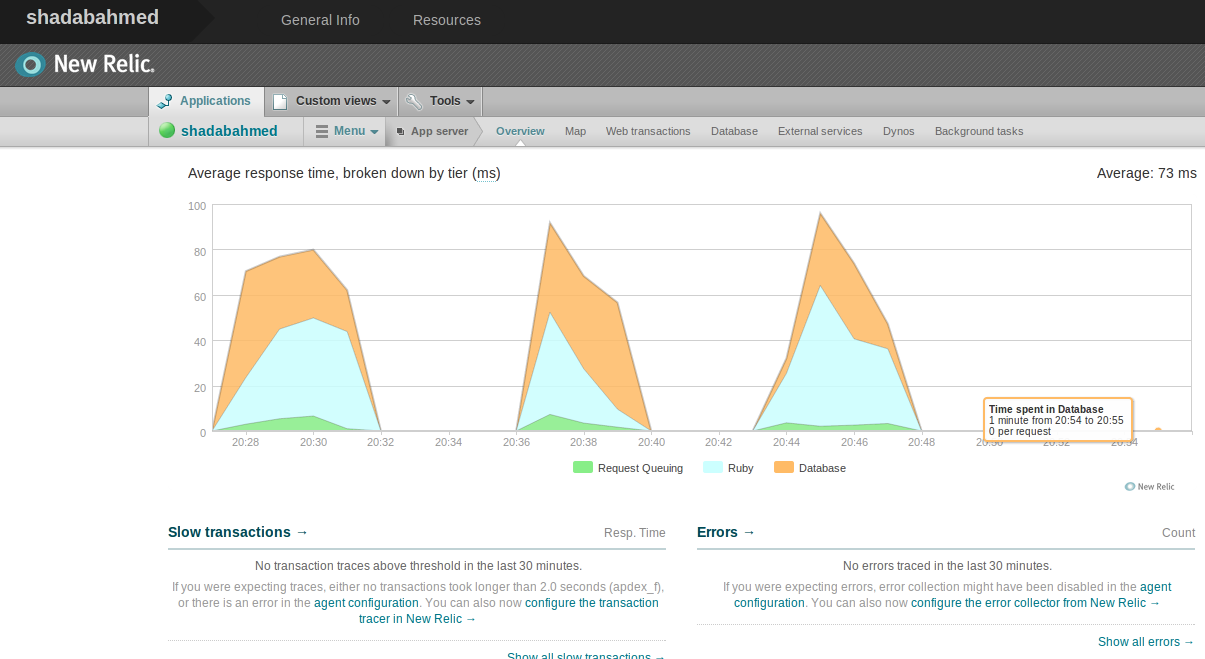
New Relic - Site Analytics Addon
To analyze your site performance, heroku supports *New Relic. This is also very simple to add to your app. First you just need to enable New Relic for your app - heroku addons:add newrelic:standard. This is again free :)
Now in your app, add this like to your Gemfile - gem 'newrelic_rpm'. Now copy this file *newrelic.yml, and save it in your config directory. Then do the usual steps of committing and pushing to Heroku and you’ll be done. To view New Relic stats, just goto your app page on heroku, click on Addons, you will see New Relic in the list. Click on that link to open the awesome dashboard like shown below: