
TLDR;
Used an Arduino Nano to make a TV Mount smarter. Jump to the Final Setup section for a demo video.
Intro
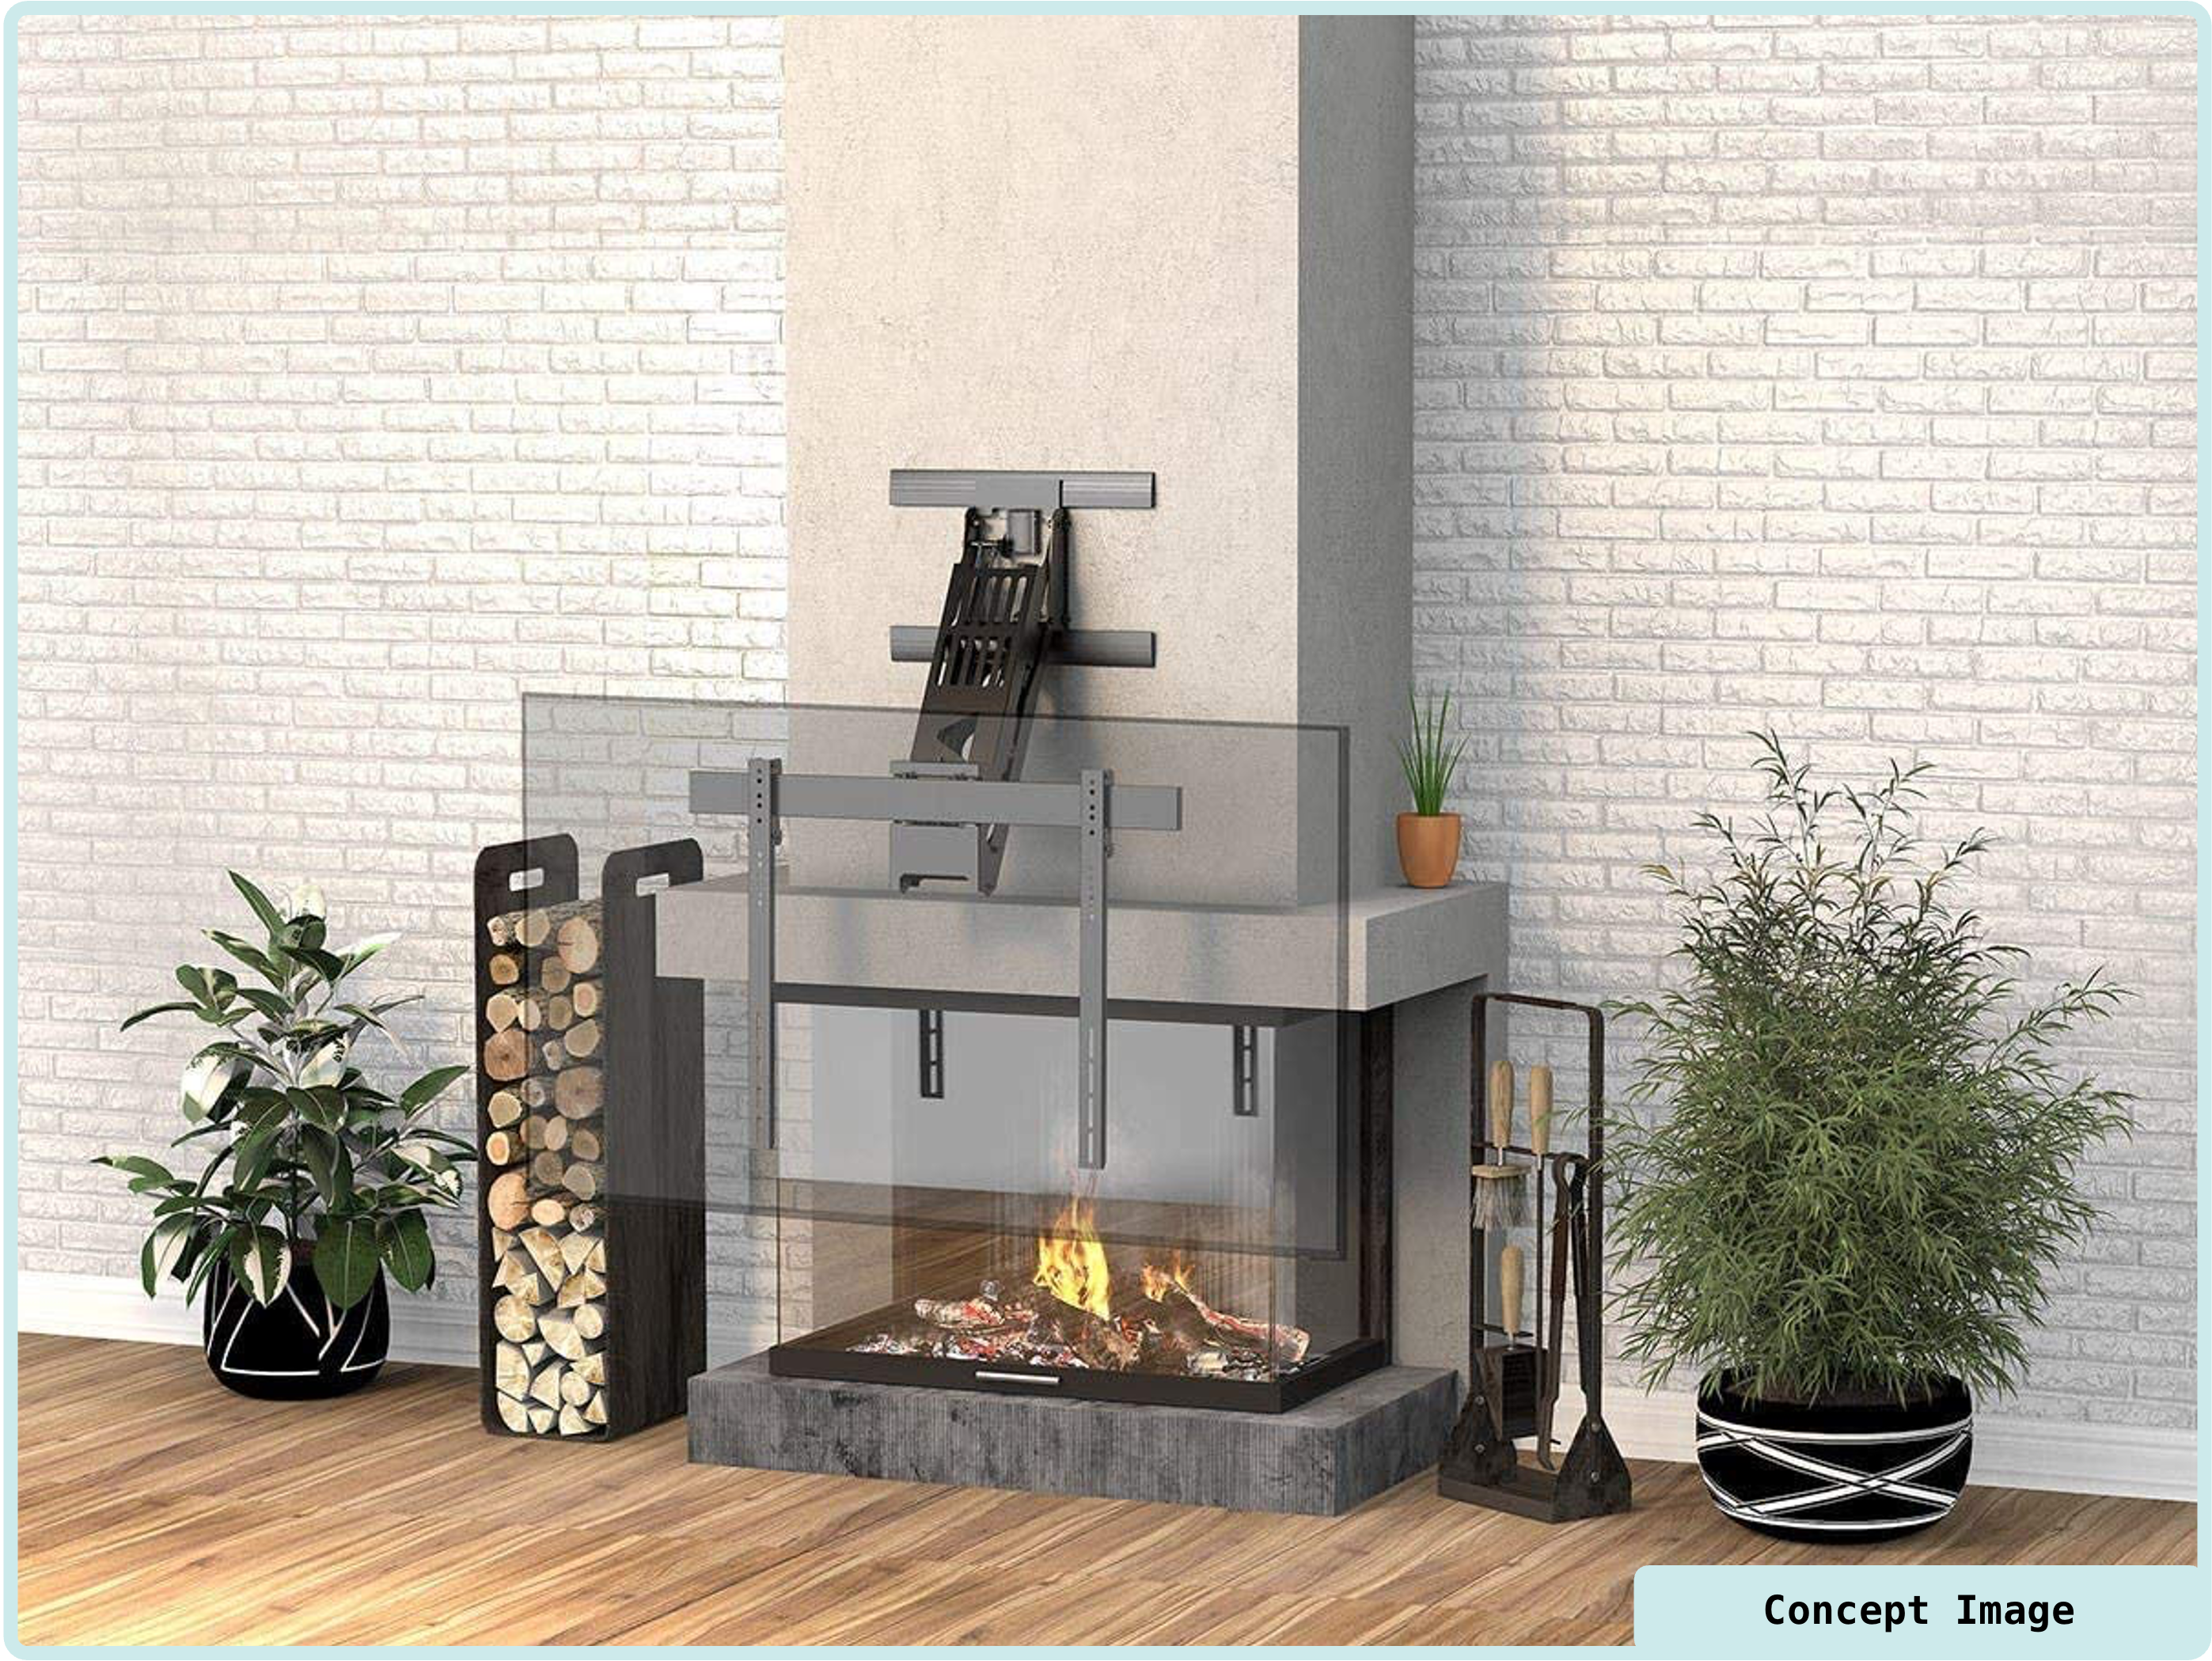
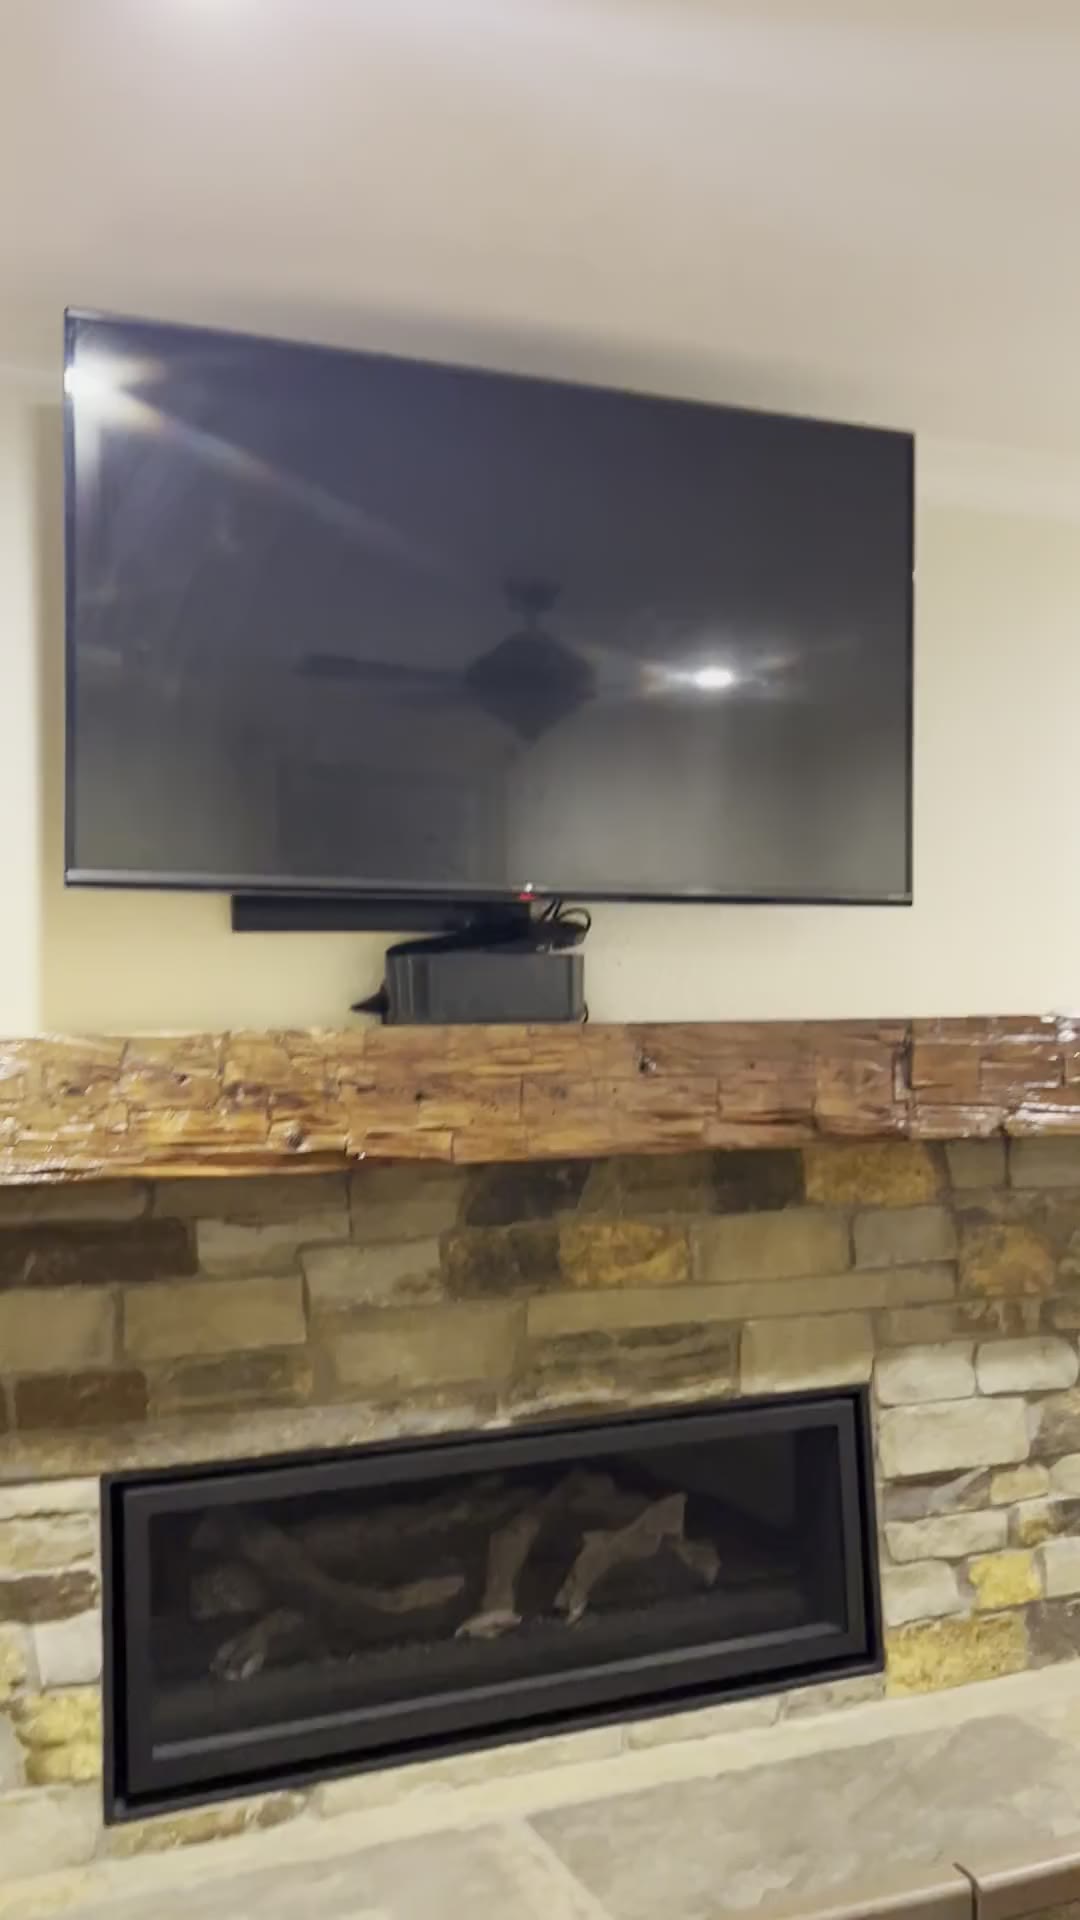
Since I’m on a break in-between jobs, I thought I’d revisit my old blog and post about something interesting I’ve done during the time. I’ve been wanting to place our TV on the fireplace mantel in our family room. However, it makes the TV too high to watch. To fix this, I installed a motorized above-fireplace TV mount to lower the TV down while watching. This Monoprice TV Mount seemed perfect for it:
It does handle the weight pretty well. However, a few major issues:
- The remote is horrible. It picks up IR signals from the TV remote and moves on things like volume up/down/mute etc. Super annoying!
- It has a powerful motor, but no sensor to stop if something is obstructing. It literally can crush anything which comes in its way.
- If you press the up button for too long, the motor keeps hammering as it’s stuck at the top-most position and doesn’t know it should stop.
- At the top-most position, you can still swivel the TV right/left, possibly hitting the wall. Guaranteed to damage the TV or the wall behind it.
I decided to make it better with features like:
- RF remote instead of IR, so it isn’t affected by the TV remote or any other IR source
- Detect if the TV is too close to the wall and prevent any further moving up to prevent damage to the mount or the TV
- Detect motor stalls or obstructions by measuring motor current and stop the motors in such fault conditions
- Move the mount to the rest position(top-most) automatically, when the TV is turned OFF
- Similarly, move the mount to the viewing position(bottom-most) automatically, when the TV is turned ON
Components
Here’s a block diagram of the whole system:
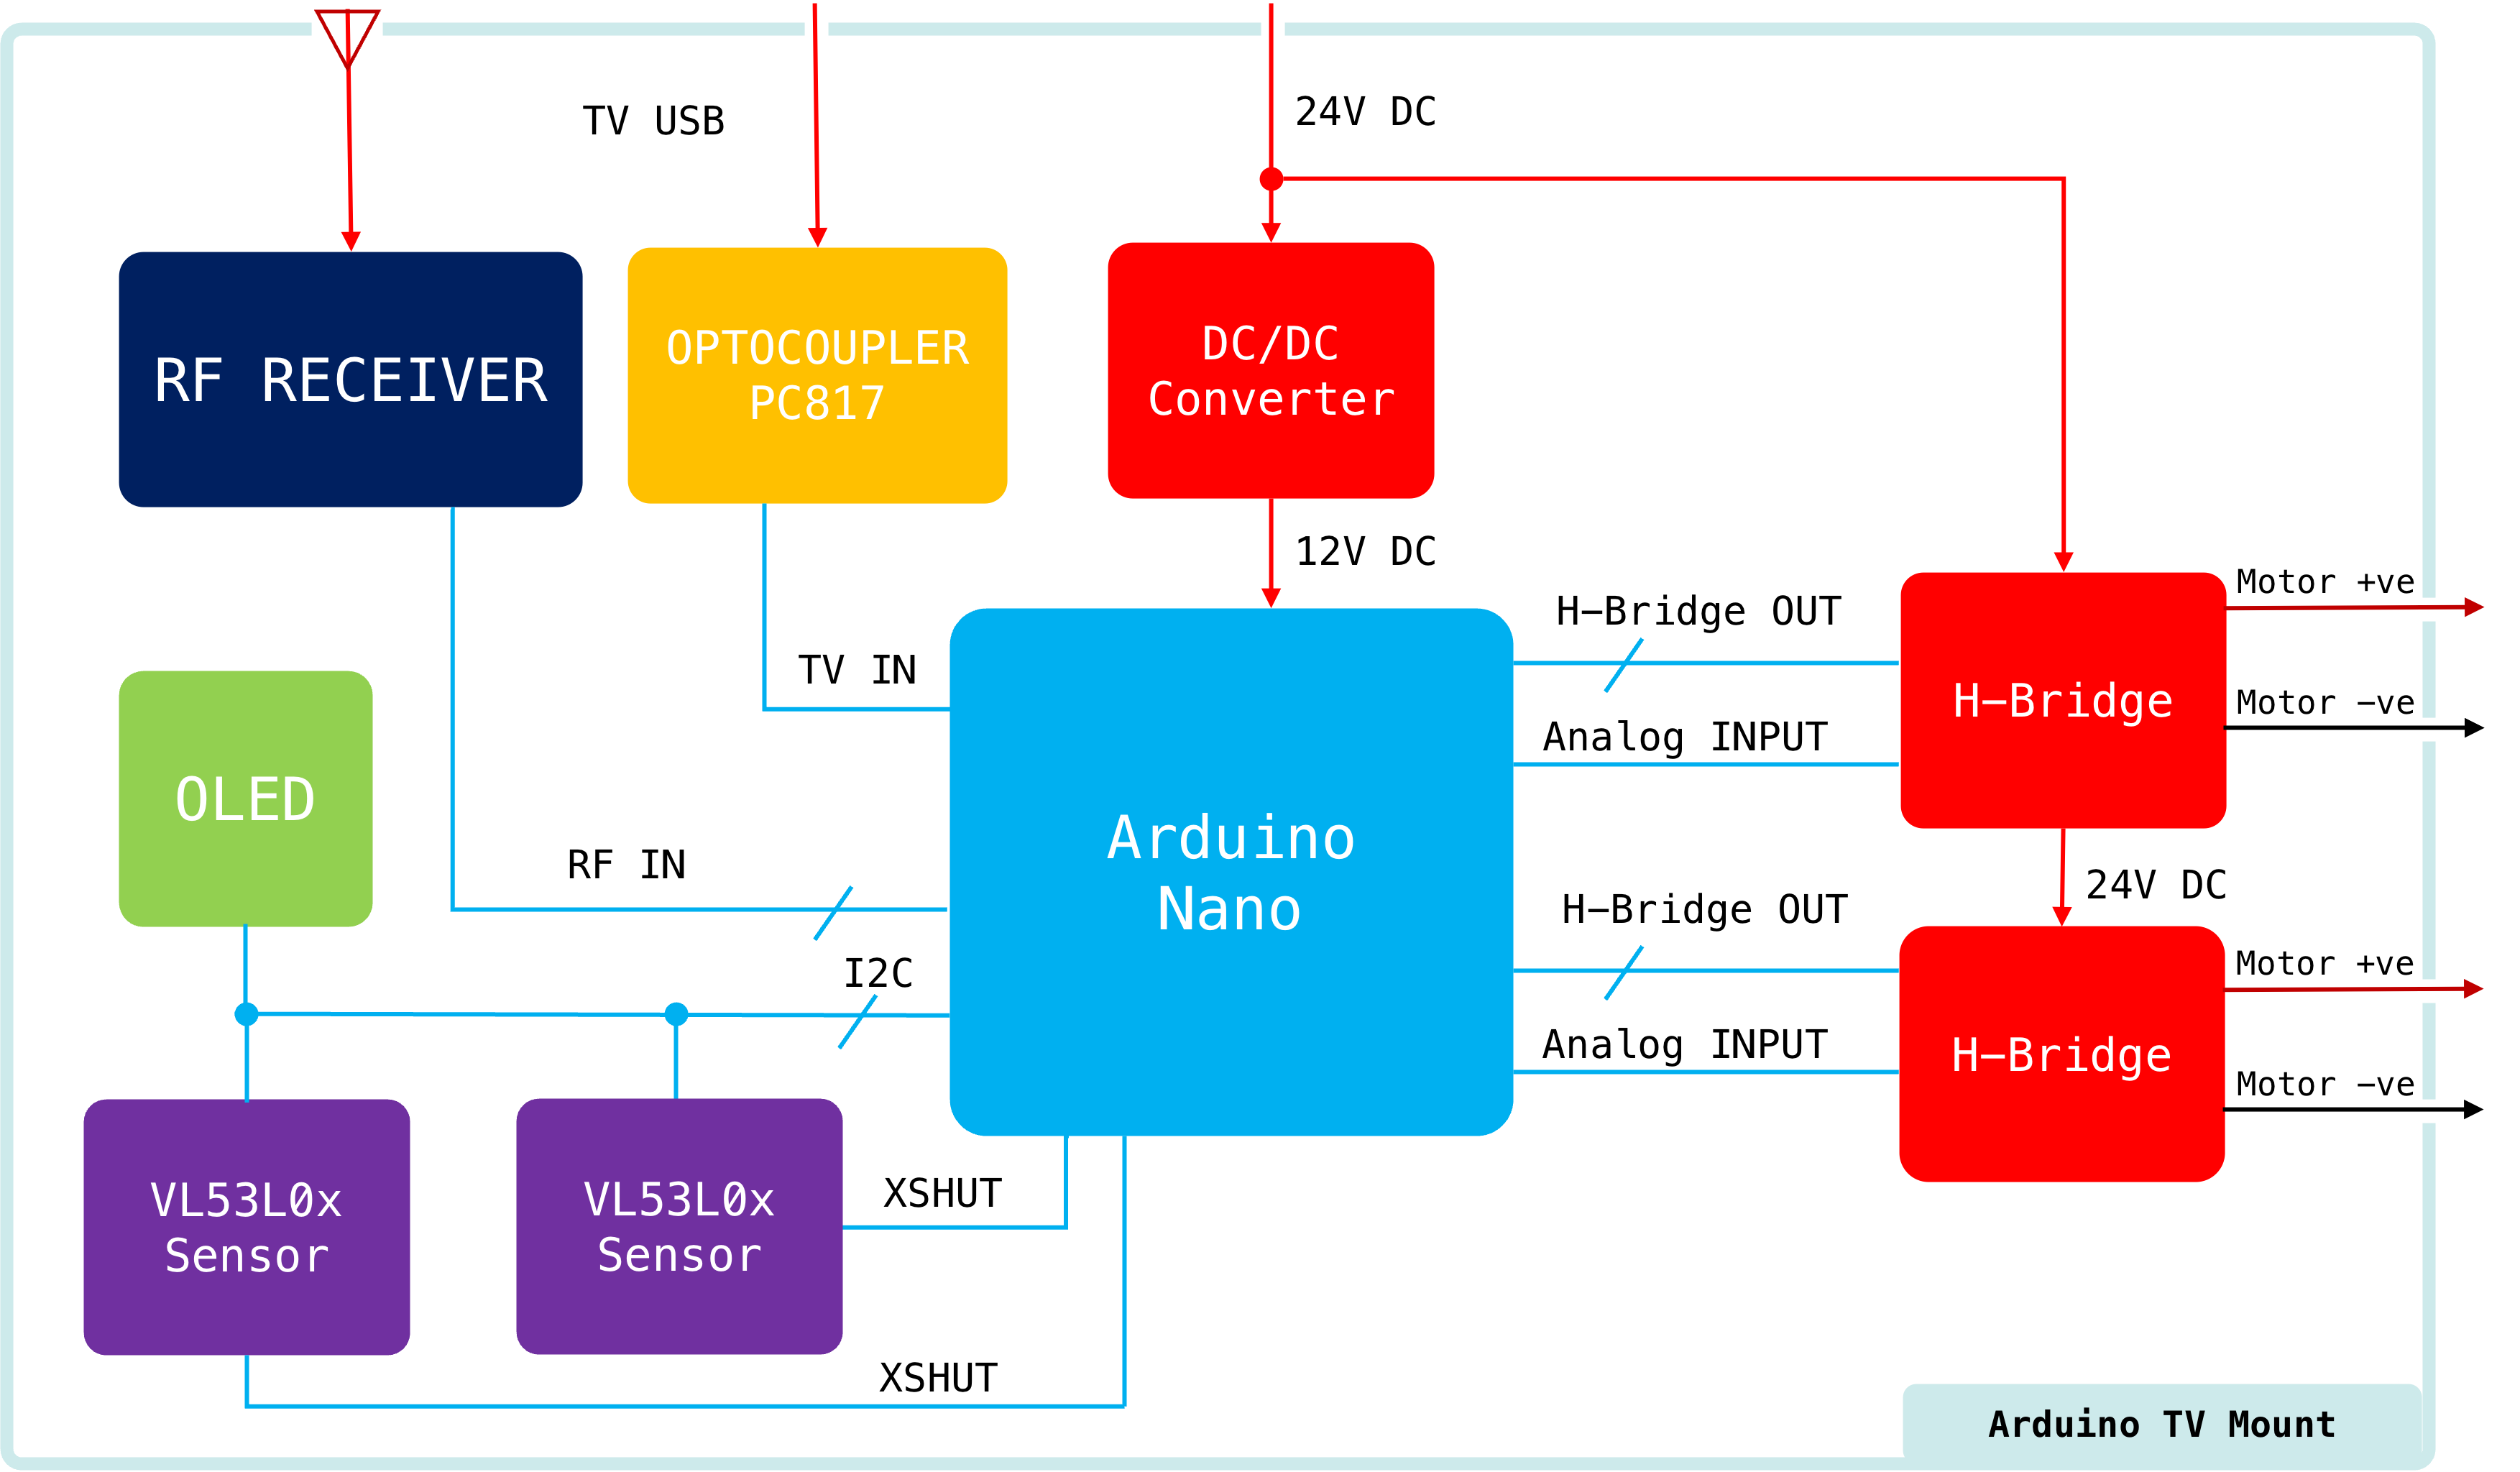
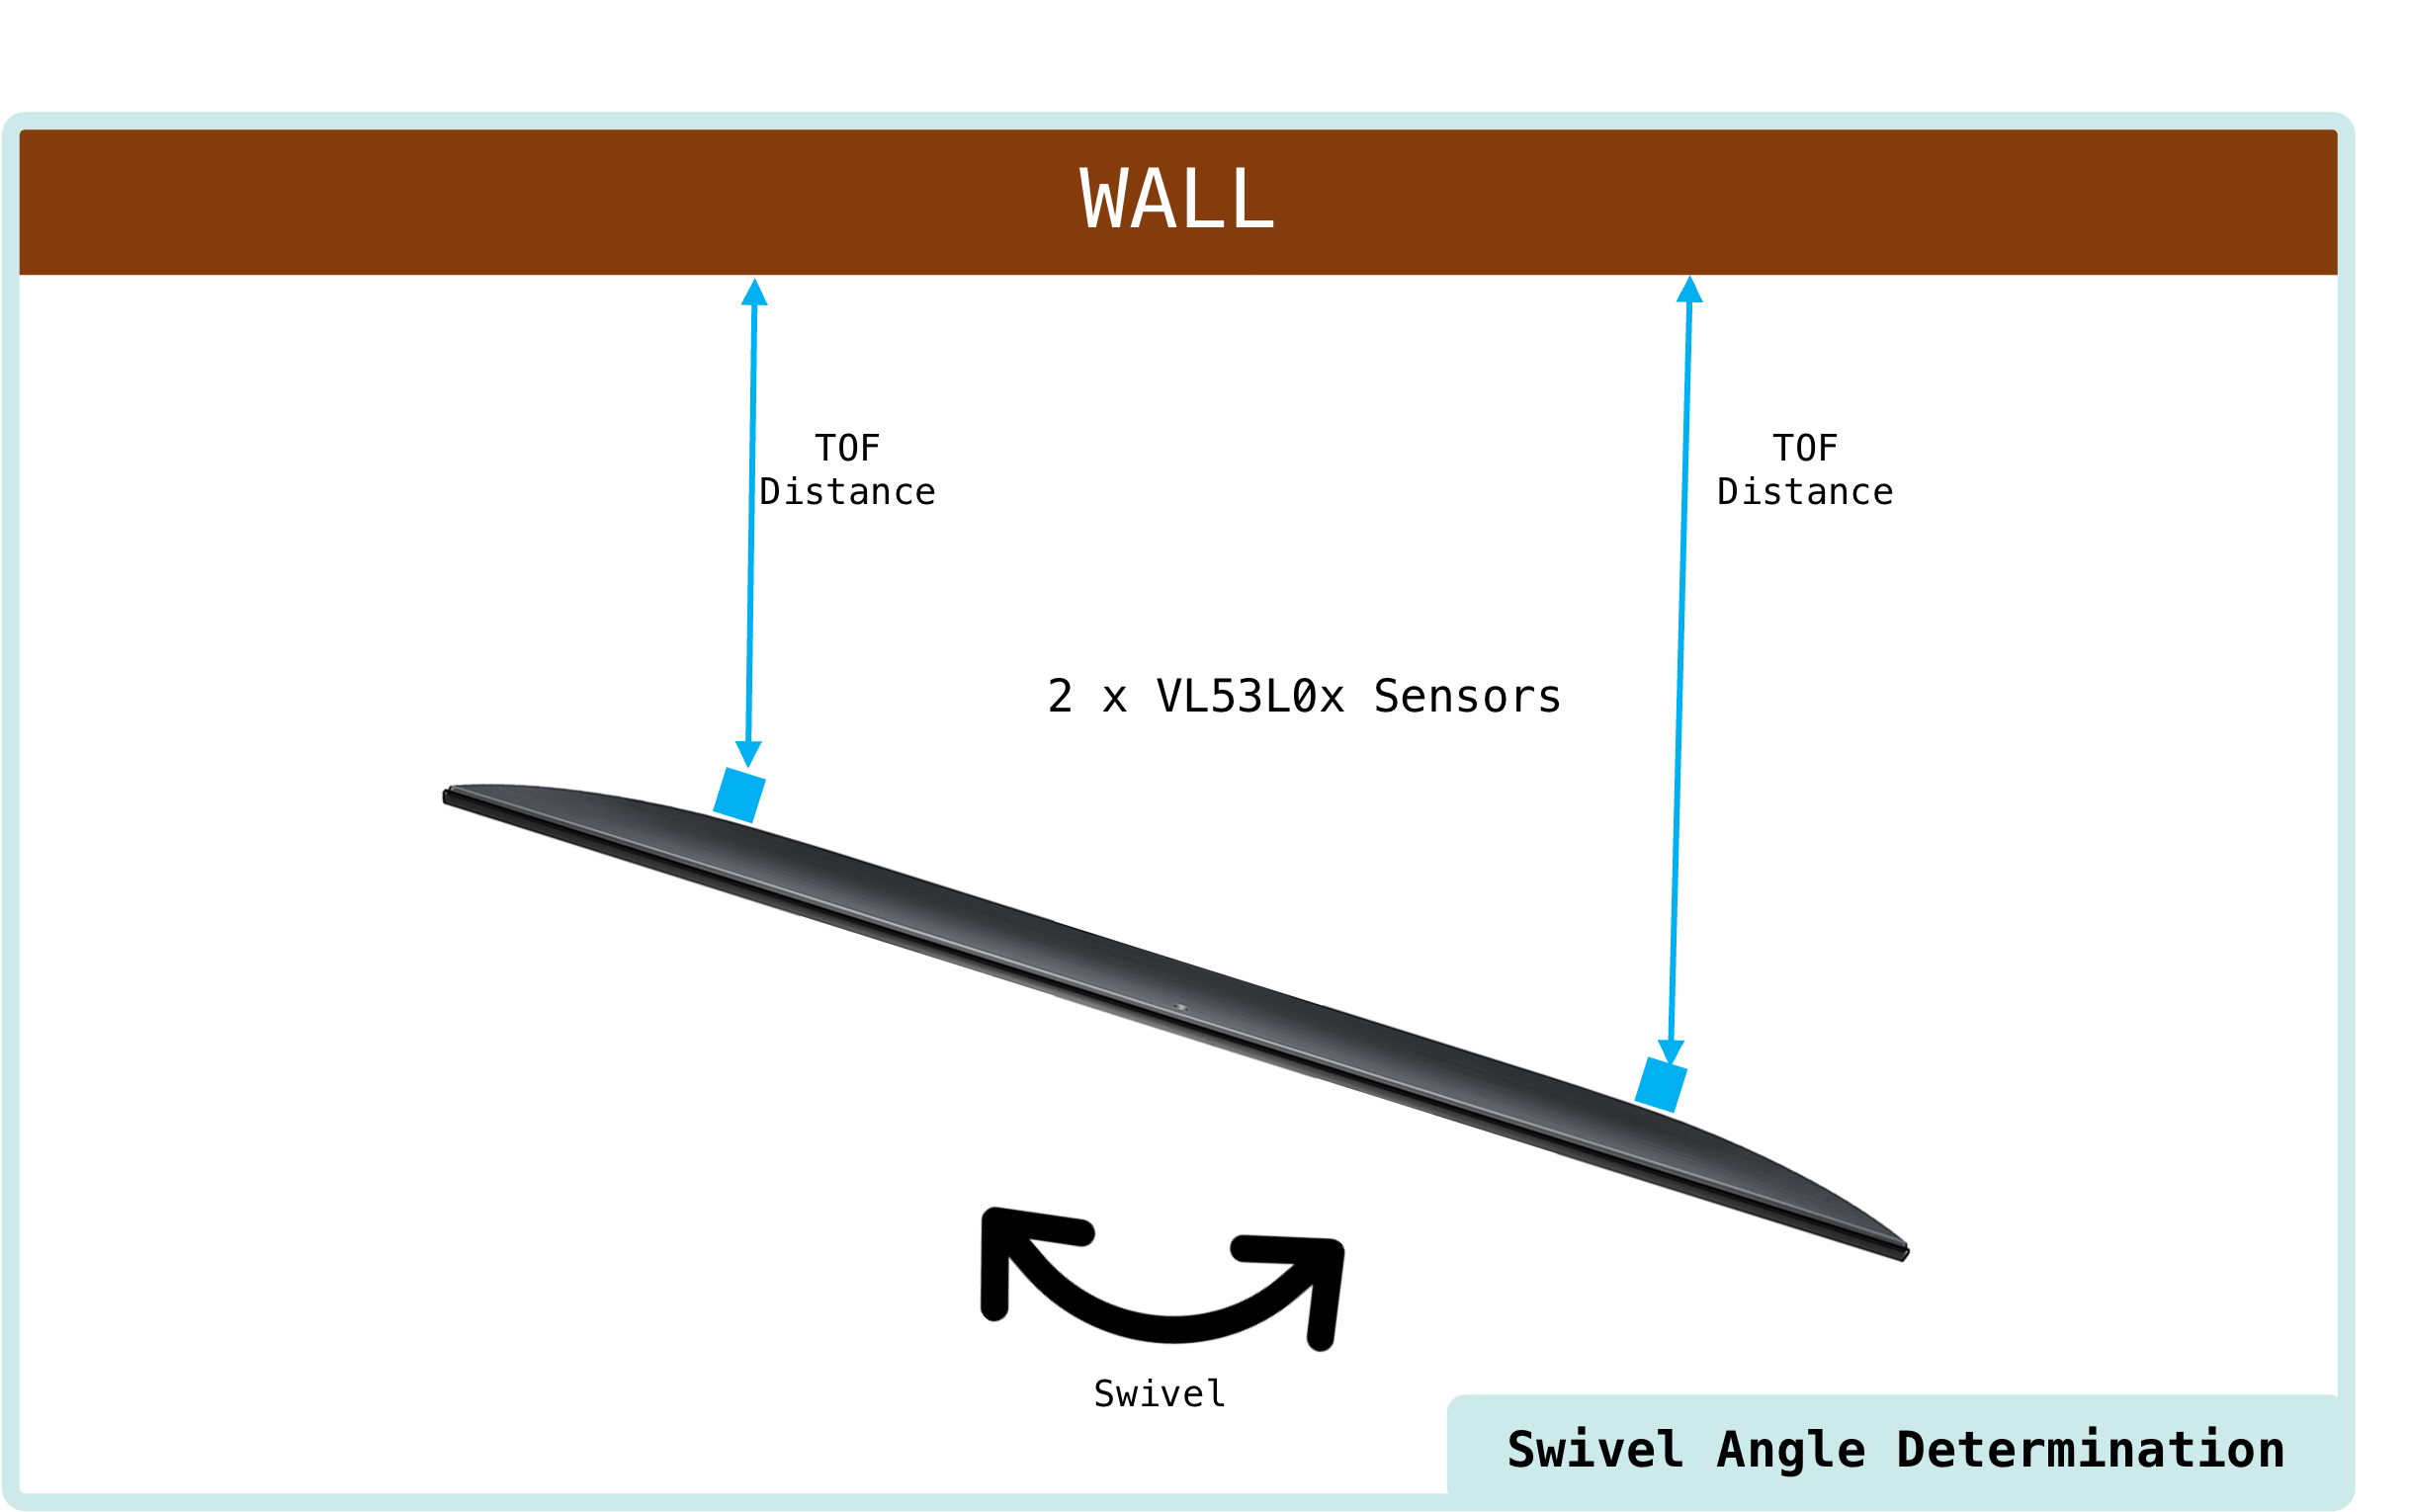
The two time-of-flight(TOF) distance sensors are VL53L0x sensors I bought from Amazon. These are pretty accurate from 20mm to 2000mm. These are placed behind the TV on the opposite ends to detect the distance from the wall, as well as the swivel angle.

The Circuit
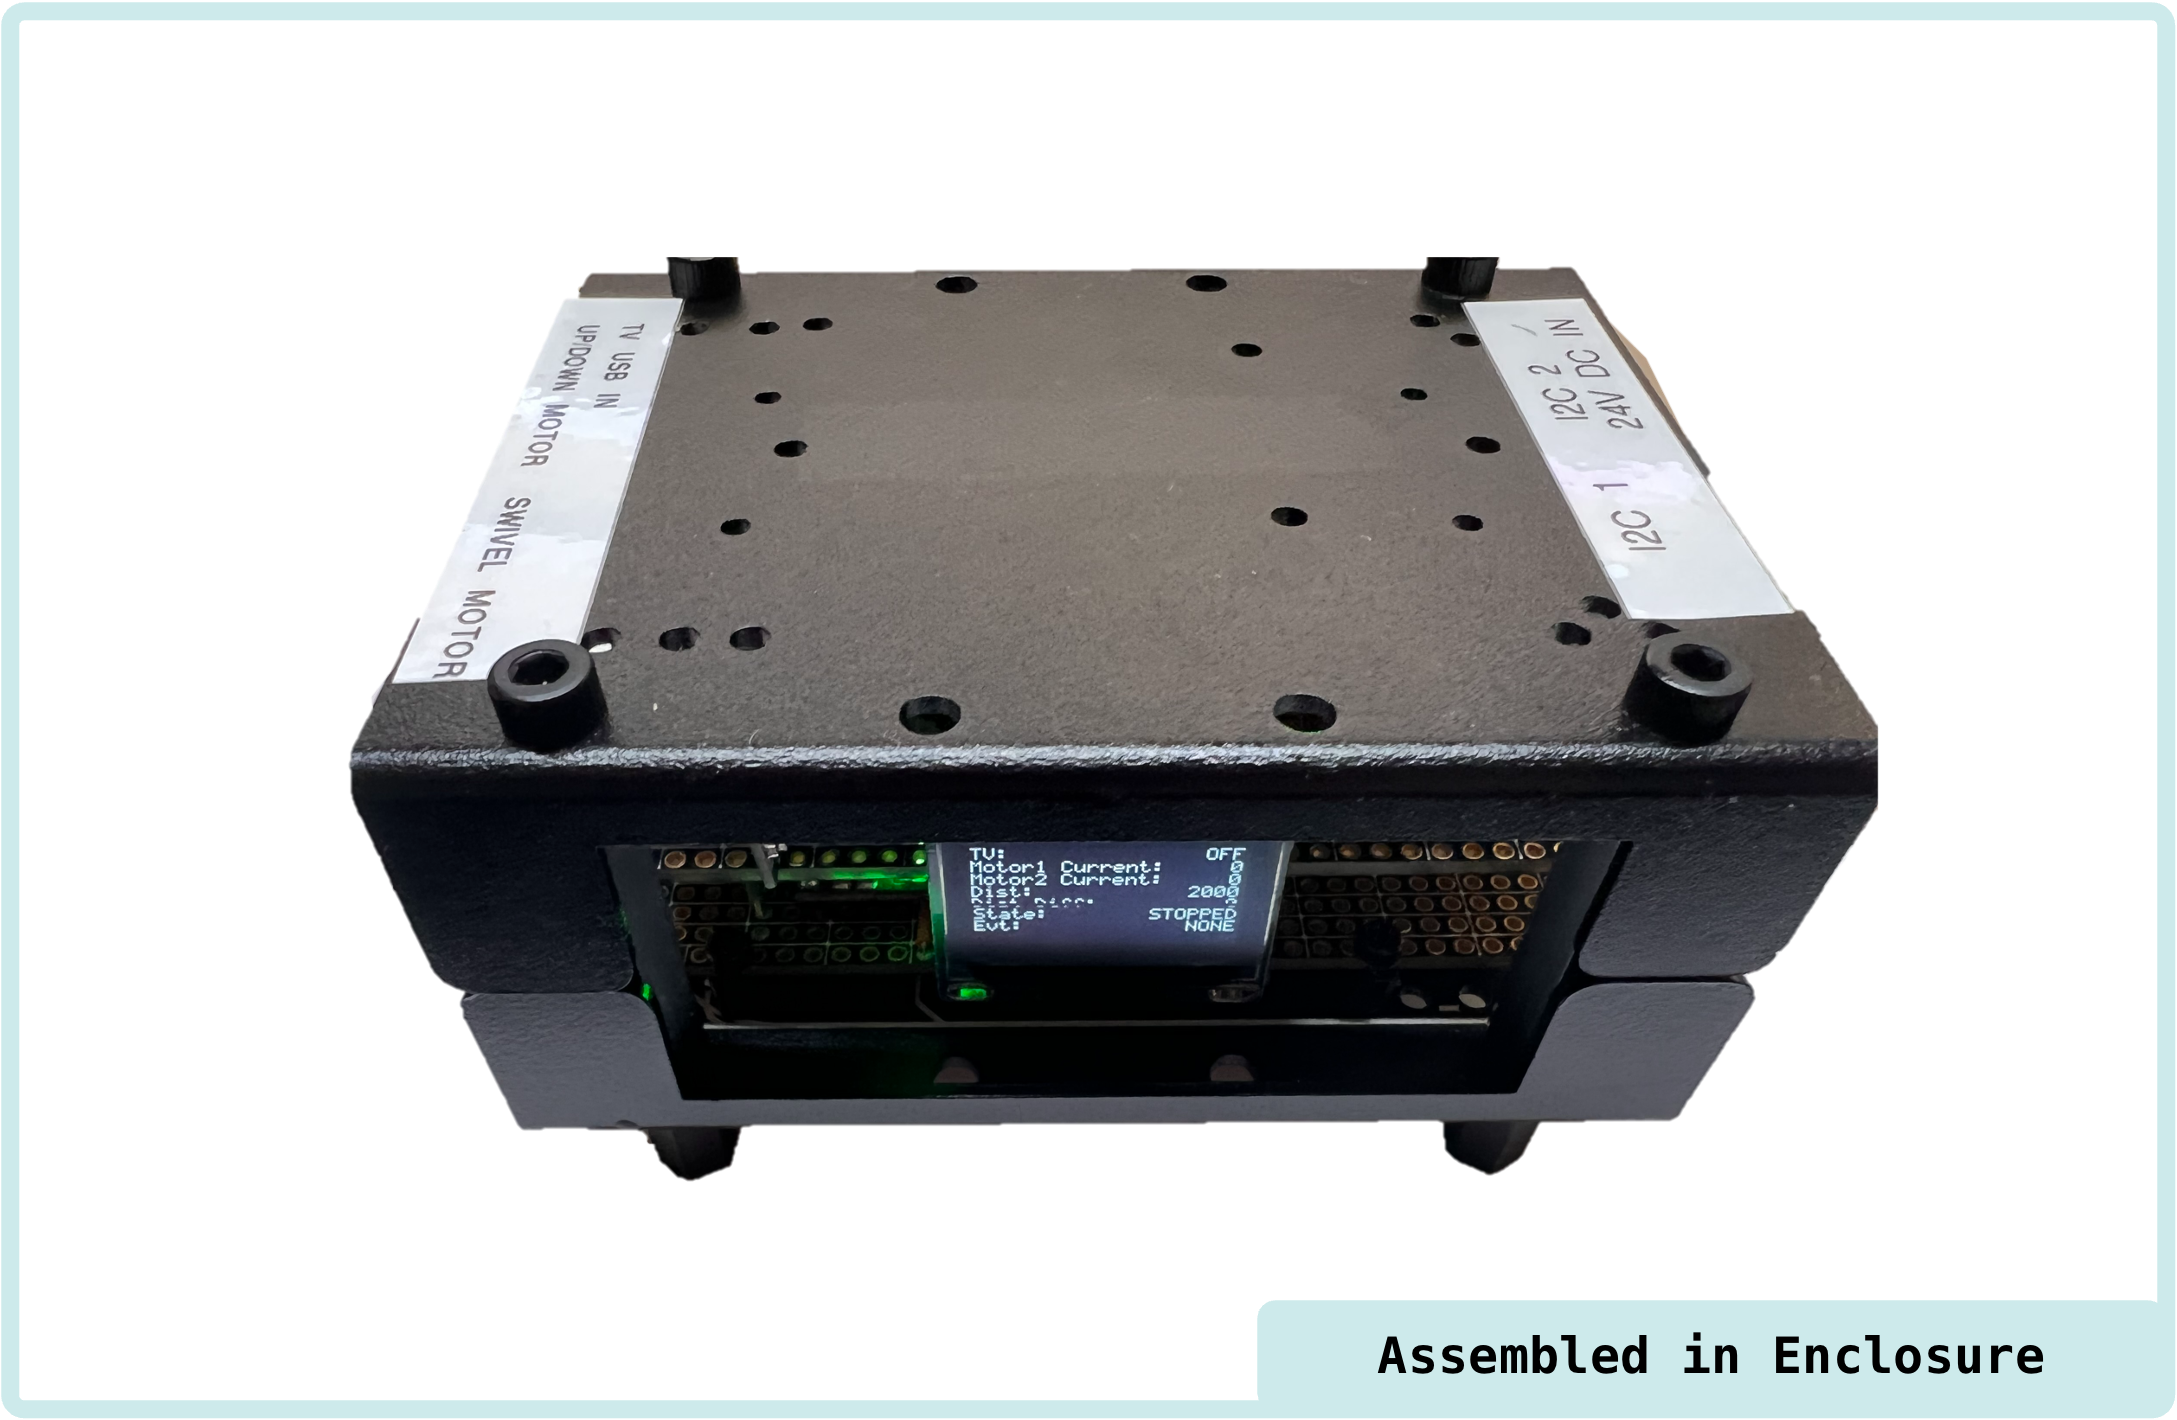
The circuit is just soldered on two separate prototype PCBs, layered one over another. The top part contains the Arduino and connectors for the sensors. Also has a USB connector for the cable coming from the TV for TV On/Off detection. The bottom part contains the two H-bridges for the two motors in the mount(up/down and swivel). There’s a DC/DC converter as well, for running the Arduino from the 24V power supply.

Fits nearly perfectly in this enclosure built for Raspberry PI:
The Code
The code is written in C++ using the Arduino framework. I initially started coding in Arduino IDE but as the code got bigger, switched over to the Jetbrains CLion using the Platform IO framework. I must say that CLion is so much better to write code in!
The main part of the code is a state machine, that manages the various states and transitions based on the inputs from the remote/sensors.
As a side challenge, I also ported the code to an almost pin-compatible Arduino Nano RP2040, which is based on the Raspberry Pi Pico microcontroller.
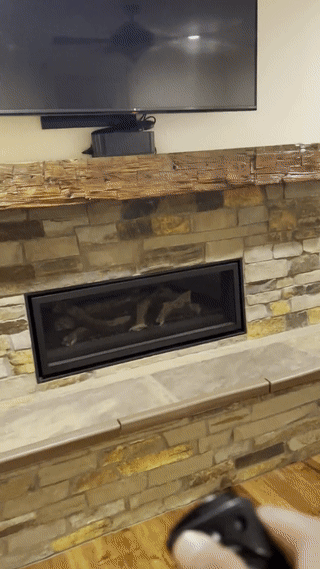
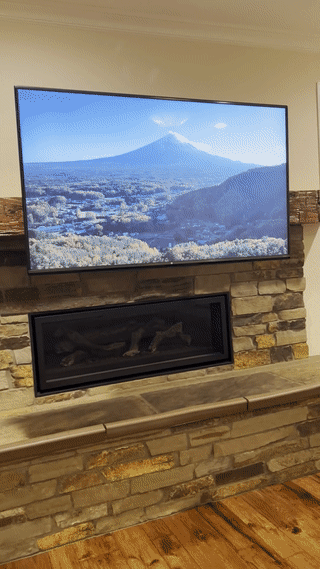
Final Setup
Right now, I crammed the circuit, power supply etc in a cable box. I do plan to make it neater. Videos(5x speed) of the whole setup with TV On/Off function:


Conclusion
This has been a fun little project to do, and pretty useful as well. I last coded on a microcontroller (AVR Atmega series) in 2008, and it was all on custom-manufactured circuit boards. Comparing that to now, here’s what I observed:
- There are many microcontrollers available today with a host of connectivity options like LoRa, Wifi, Bluetooth etc.
- You can buy fully assembled breadboard-ready microcontroller boards for just a few dollars
- The diversity in the microcontroller choice is also supplemented by a good set of frameworks like Arduino, Platform IO etc. Not too hard to write portable code without a lot of changes like I did with Arduino Nano RP2040
- You can virtually find any sensor on Amazon, Sparkfun, AdaFruit or many other sites.
Overall so much easier to do your hobby projects today. I too hope to pick up a few other cool projects as well. Will keep you posted. Cheers !!!!ß